How It Works
Follow these simple steps to configure your ZKTeco device
1
Step 1: Access Communication Menu
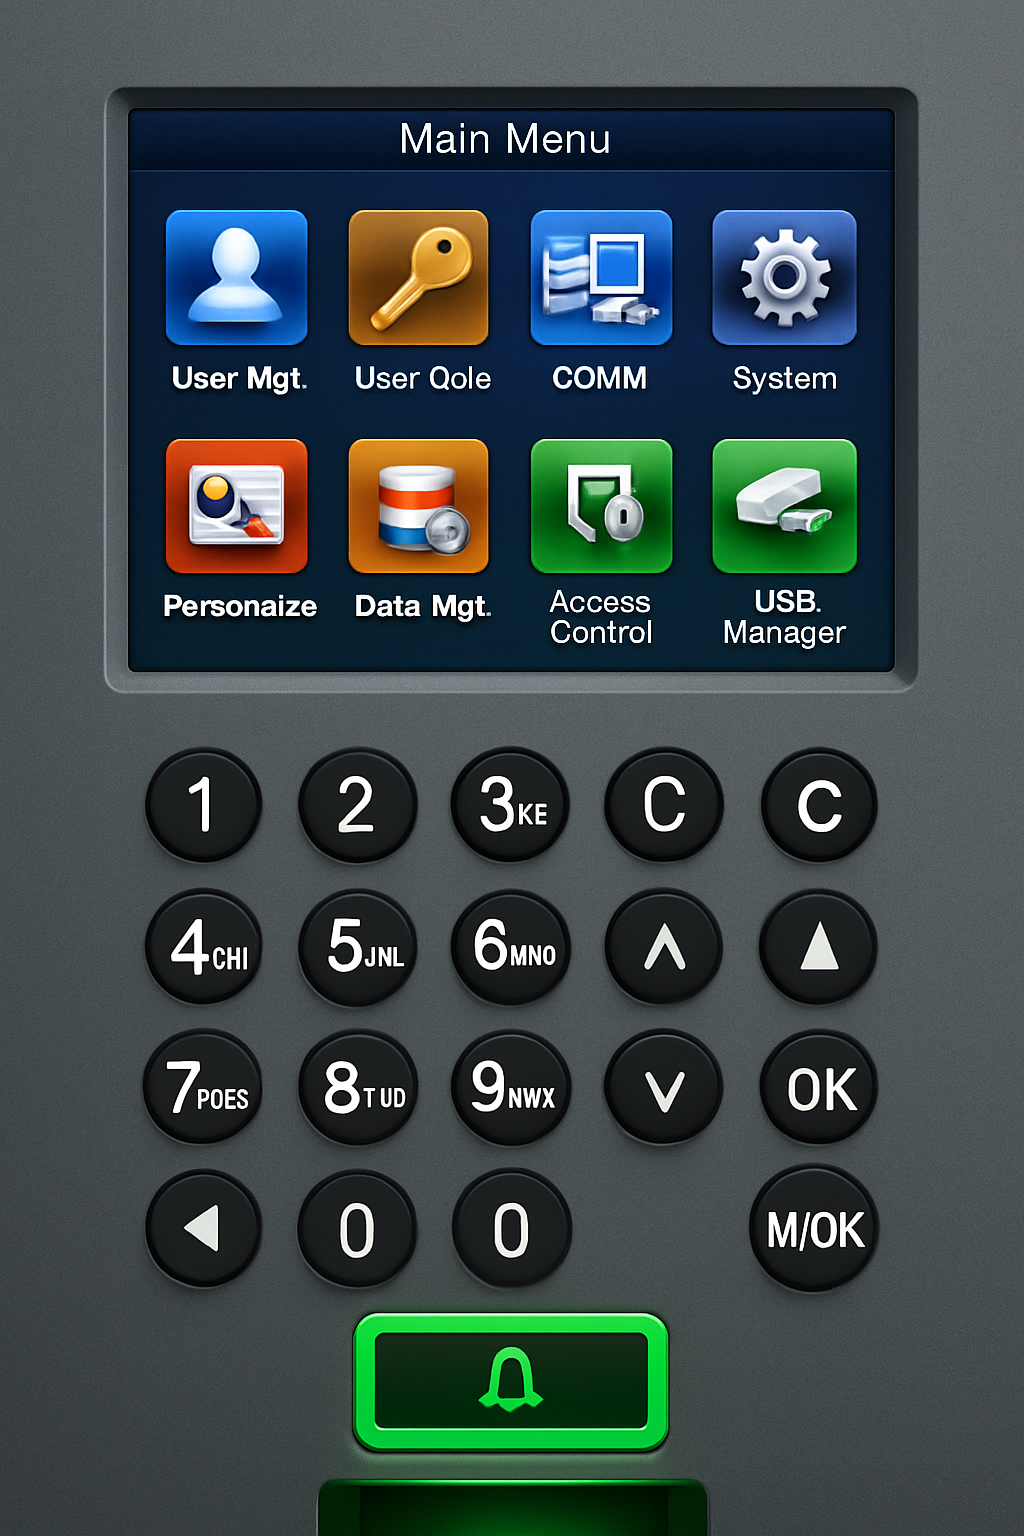
On your device's main menu, select the Comm option to open communication settings.
2
Step 2: Open Ethernet Settings
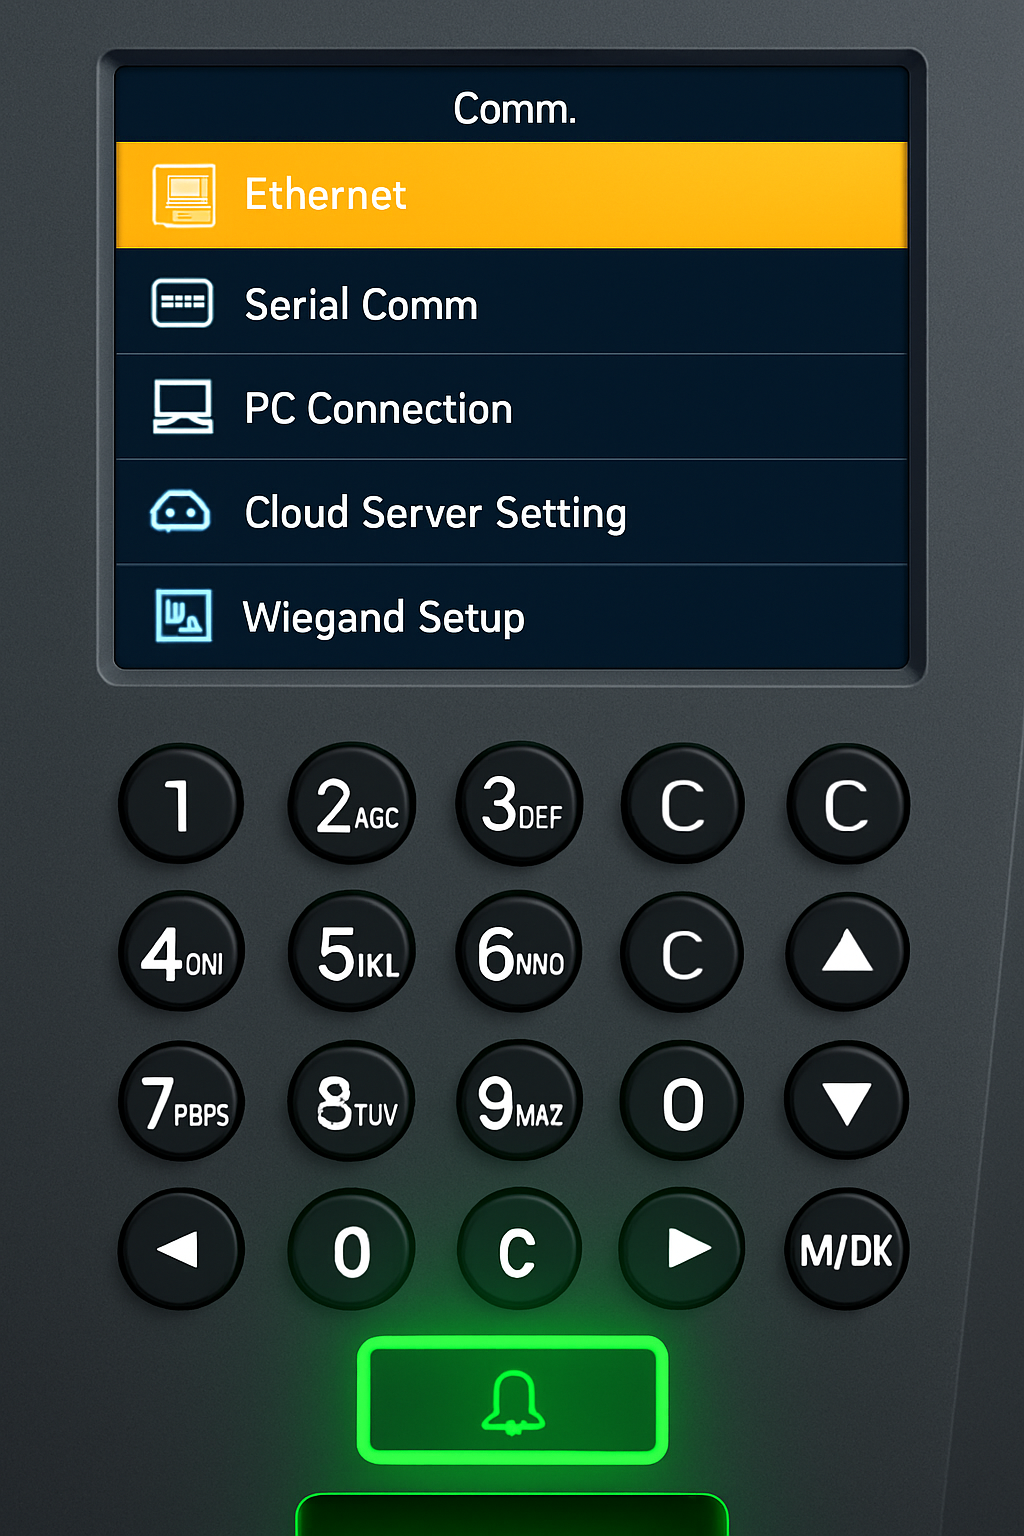
From the communication menu, navigate to and select the Ethernet Menu to configure network settings.
3
Step 3: Configure Network Settings
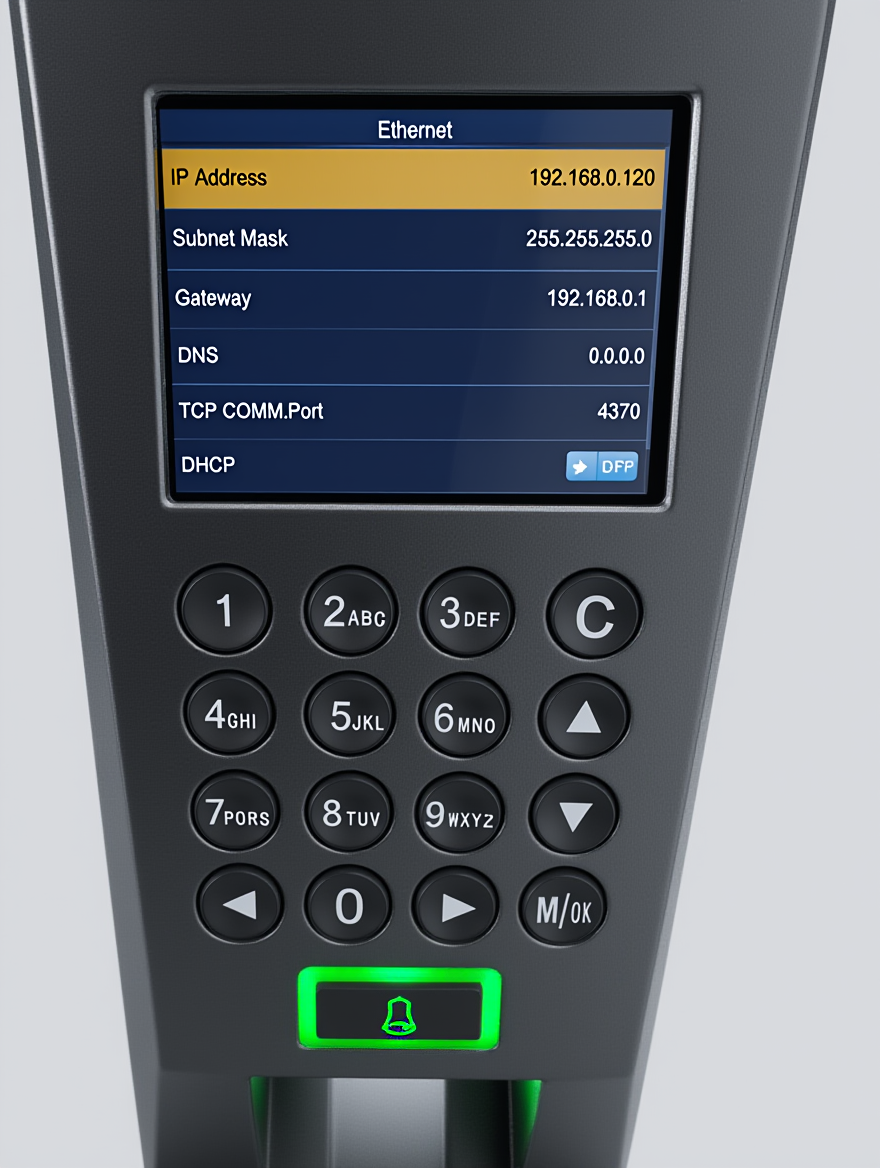
Enter the following network configuration values exactly as shown:
IP Address:
192.168.0.120
Subnet Mask:
255.255.255.0
Gateway:
192.168.0.1
DNS:
0.0.0.0
TCP Port:
4370
DHCP:
Off
4
Step 4: Configure Cloud Server
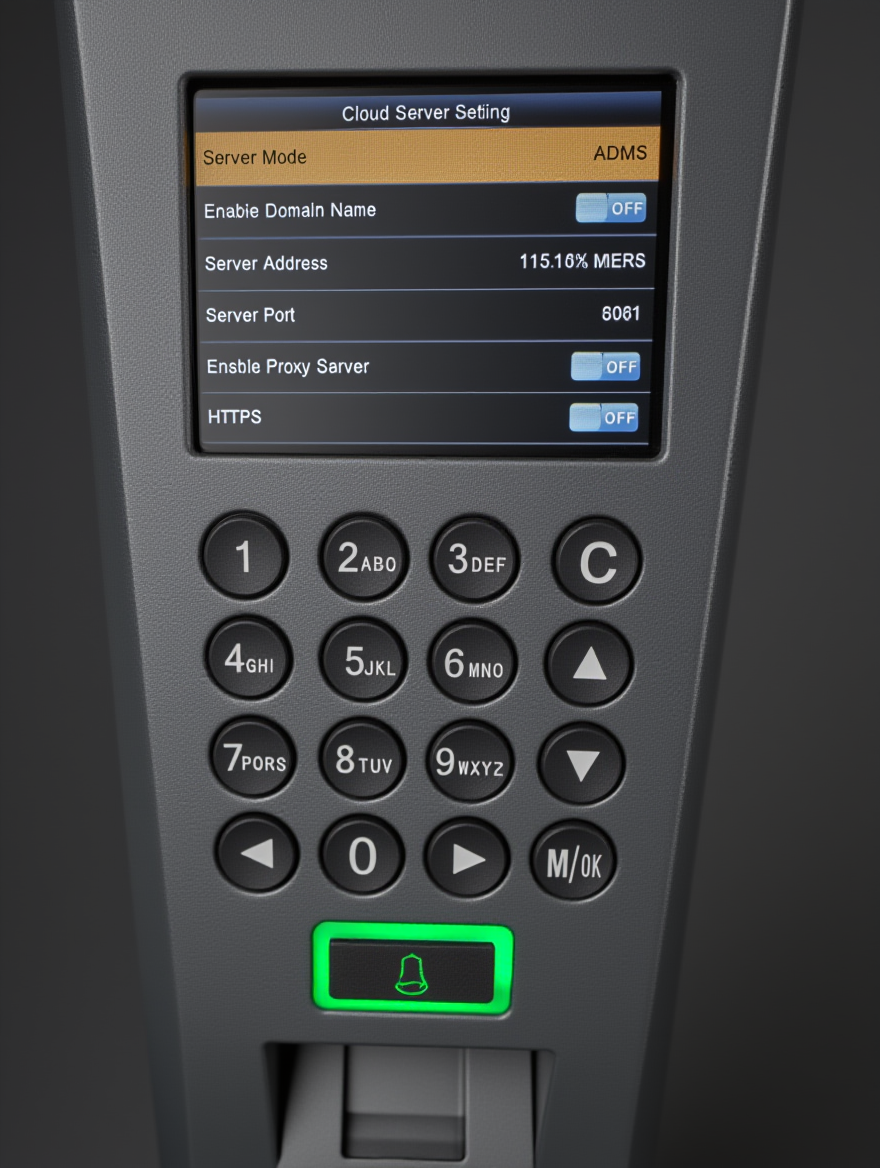
Go to Cloud Server Settings and configure the following values:
Server Mode:
ADMS
Enable Domain Name:
OFF
Server Address:
XXXX.XX.XX.XXX
Server Port:
8081
Enable Proxy Server:
OFF
HTTPS:
OFF
Note: The server address will be provided to you after you complete the registration process.
5
Step 5: Restart & Verify Connection
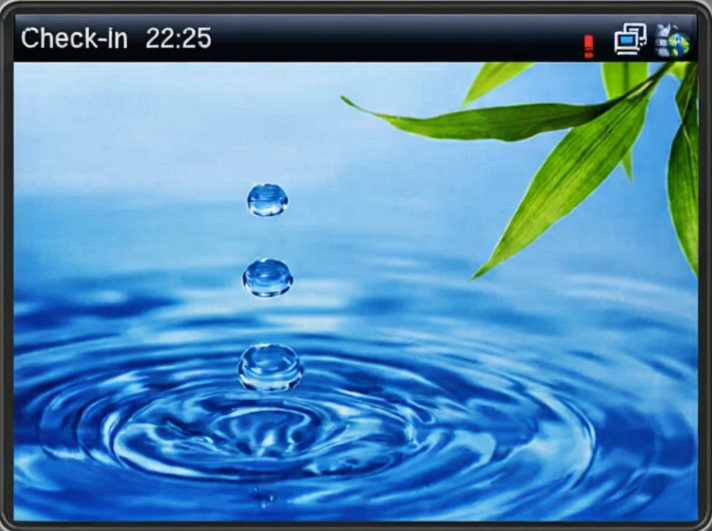
After completing all settings, restart your device. Once restarted, check the top right corner of the device screen. If you see the connection icon (as shown in the image), your device is successfully connected to our server.
Frequently Asked Questions
All ZKTeco devices that support HTTP push functionality are compatible with our service. This includes most modern fingerprint, face recognition, and card-based attendance devices.
All data is transmitted using SSL/TLS encryption and stored in secure, redundant cloud servers. We comply with international data protection standards and never share your data with third parties.
Yes! We offer a 7-day free trial with full access to all features. No credit card required to start your trial.
We provide 24/7 technical support via email and phone. Premium plans include dedicated account managers and priority support with faster response times.